

How to Test Audio Quality Safely: A 2026 Guide
Table of Contents
- Step 1: Set Up a Safe Testing Environment
- Step 2: Safe Volume Levels for Audio Testing
- Step 3: Pick the Best Audio Test Tracks for Speakers
- Step 4: Run Frequency Sweeps and Tone Checks
- Step 5: Use Audio Quality Testing Tools for Headphones
- Step 6: Perform a Blind Listening Test
- Step 7: Spot Distortion, Clipping, and Compression Artifacts
- Common Mistakes to Avoid When You Test Audio Quality
- Frequently Asked Questions
Last Updated: September 17, 2026
Step 1: Set Up a Safe Testing Environment
Learning how to test audio quality safely starts with the room, not the gear. A quiet, controlled space gives you honest results and protects your ears while you work. This guide from Electro Gift Shop walks you through each step, from setup to final checks.

Here's what matters most: your room shapes what you hear before any speaker or headphone does.
Calibrating Your Listening Space
Calibration is the process of adjusting your space and gear so what you hear matches the original recording. It removes the room's influence from your results.
Start with these basics:
- Pick a room with soft furnishings, rugs, and curtains to cut reflections
- Keep the space quiet, away from traffic or appliance noise
- Position speakers at ear height, forming an equal triangle with your seat
- Mark your listening spot so you test from the same place each time
Hard, bare rooms create echoes that mask real problems. A bedroom with a bed and curtains usually beats a bare office.
Choosing the Right Source and Playback Chain
The playback chain is everything between your file and your ears. Each link adds its own color to the sound.
Keep the chain simple:
- Use lossless files or a quality streaming tier
- Connect through a clean path, wired where possible
- Set your source volume high, then control loudness at the amp or app
A low bitrate file hides detail. So does a cheap cable. Test with the best source you own, then swap in lower-quality files to hear the difference.
Step 2: Safe Volume Levels for Audio Testing
Safe volume levels for audio testing sit below 85 decibels for extended sessions. Keep sessions short and take breaks. Your ears are the most sensitive tool you own, and they don't recover from lasting damage.
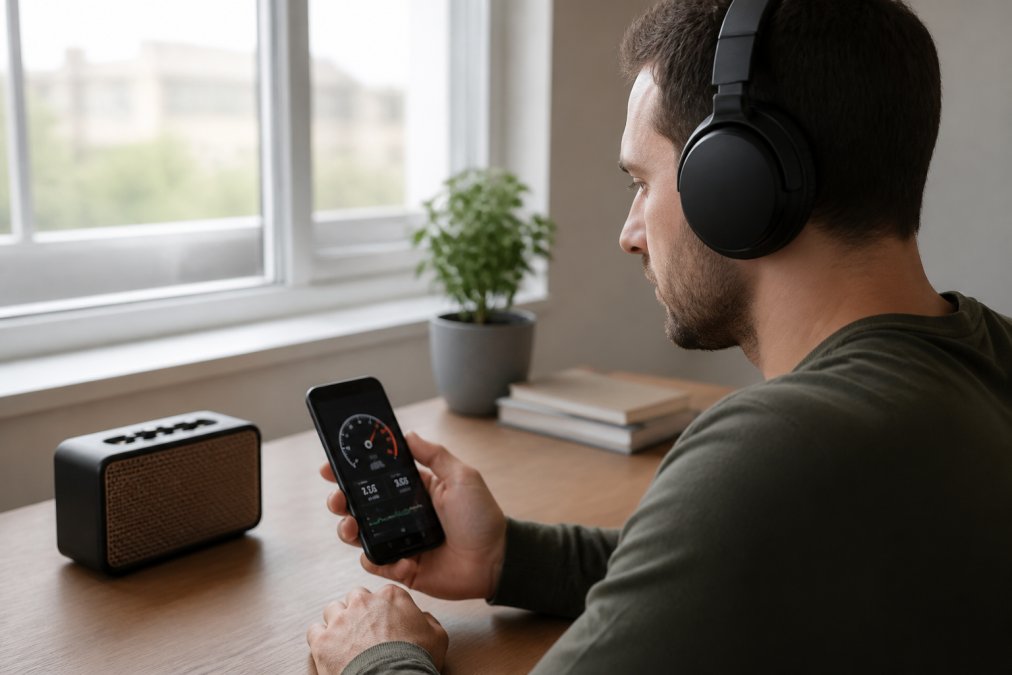
Decibels, Duration, and Hearing Protection
Decibels measure sound pressure, and the scale is logarithmic, so a small number change means a big loudness jump. The World Health Organization recommends keeping personal audio below 80 decibels for adults over long periods, with shorter limits as levels rise (WHO guidance on safe listening).
Here's the practical rule:
- Aim for conversational level, roughly 60 to 70 decibels, for long tests
- Cap loud checks at a few seconds, never minutes
- Take a quiet break every 30 minutes
- Never test at a level that feels uncomfortable, even briefly
An audio interface or phone app can show your output level. It won't be lab-accurate, but it flags when you drift too loud.
A Concrete Hearing-Safety Protocol for Testers
Most guides tell you to "keep it safe" but never define what that means in practice. Here is a repeatable protocol you can follow every session.
1. Measure your baseline. Before you test, use a sound level meter app (such as NIOSH SLM or Decibel X) to measure the ambient noise in your room. A quiet room should read below 40 dB. If it reads higher, find a quieter space or wait for a quieter time.
2. Set a hard ceiling. For any test lasting more than a few seconds, keep peaks below 80 dB. For brief transient checks (like a single sweep), you can go up to 85 dB, but never exceed 90 dB under any circumstance. Use a meter placed at your listening position to confirm.
3. Use the 60/60 rule for long sessions. Listen at no more than 60% of your device's maximum volume for no more than 60 minutes at a time. After 60 minutes, take a 10-minute quiet break. This is a common guideline from hearing-health organizations and works well for extended testing.
4. Watch for warning signs. If you experience ringing, muffled hearing, or a sense of fullness in your ears after a session, you have exceeded a safe dose. Stop testing for the day and give your ears 24 hours to recover. Repeated episodes increase the risk of permanent damage.
5. Never test alone if you can avoid it. A friend can monitor your session and tell you if you're turning up the volume without realizing it. Fatigue and excitement both push levels higher.
6. Keep a log. Note the date, duration, and approximate peak level of each session. If you notice you're consistently hitting 85 dB or more, you're flirting with damage. Adjust your habits.
Step 3: Pick the Best Audio Test Tracks for Speakers
The best audio test tracks for speakers cover a wide frequency range and expose specific weaknesses. One track can't reveal everything, so build a small set.
Choose tracks that test different things:
- Bass: a track with deep, clean low notes to check for boom or mud
- Vocals: a solo voice to hear midrange clarity and natural tone
- Dynamics: a quiet-to-loud piece to test how the speaker handles swings
- Stereo imaging: a wide mix to check channel balance and soundstage
Tracks That Reveal Frequency Response and Stereo Imaging
Frequency response describes how evenly a speaker plays low, mid, and high notes. A flat response plays every range at similar loudness.
For stereo imaging, pick a recording with instruments spread across the stage. Close your eyes and point to each sound. If everything crowds the center, the speaker's imaging is weak.
Well-known reference tracks work well here. Many engineers use tracks they know inside out, so any surprise comes from the gear, not the music.
Step 4: Run Frequency Sweeps and Tone Checks
A frequency sweep plays a steady tone that slides from low to high, or high to low. It exposes dead spots, buzzes, and peaks in one pass.
Run the sweep at a low, safe level. Listen for:
- Rattles or buzzes at certain notes
- Sudden volume jumps where the response peaks
- Gaps where sound drops out
Sine Wave, Pink Noise, and White Noise Explained
Each test signal has a job:
| Signal | What It Is | Best For |
|---|---|---|
| Sine wave | One pure tone at a single frequency | Spotting distortion at specific notes |
| Pink noise | Equal energy per octave, sounds balanced | Checking overall frequency response |
| White noise | Equal energy at every frequency, sounds bright | Testing high-frequency response |
Pink noise sounds smoother to the ear. White noise sounds hissy because it pushes more energy into the highs. Both reveal how a speaker handles the full range.
Sine waves are the sharpest tool for finding distortion. Play one tone and listen for a rough edge that shouldn't be there.
Hardware-Specific Safety Protocols for Sweeps
Most guides ignore the risk that frequency sweeps pose to sensitive drivers and amplifiers. A sustained low-frequency tone at high amplitude can overheat a voice coil or cause mechanical excursion beyond a driver's limits. Here's how to protect your gear while still getting useful results.
1. Start at low volume. Begin every sweep at a volume level you can comfortably talk over. Increase gradually only if you need more level to hear a specific artifact. Never start a sweep at your normal listening volume.
2. Limit sweep duration. A full 20 Hz to 20 kHz sweep should last no more than 10-15 seconds. Longer sweeps at high levels build heat in the voice coil. If you need to repeat, wait 30 seconds between sweeps to let the driver cool.
3. Avoid sustained low-frequency tones. Frequencies below 50 Hz demand large driver excursion. Playing a 30 Hz sine wave at high volume for more than a few seconds can damage smaller speakers. Use short bursts (1-2 seconds) and listen for mechanical noise like a ticking or scraping sound, which indicates the driver is bottoming out.
4. Watch your amplifier's headroom. If your amp is underpowered for your speakers, it may clip before the speakers reach their limit. Clipping sends high-frequency harmonics to tweeters, which can burn them out. If you hear harsh distortion during a sweep, turn down immediately.
5. Use a high-pass filter when testing small speakers. If your playback software allows, engage a high-pass filter at 80 Hz or higher for bookshelf speakers or portable Bluetooth units. This prevents damaging low frequencies from reaching drivers that can't handle them.
6. Test one channel at a time. Running a sweep through both channels simultaneously doubles the power demand. Testing left and right separately reduces stress on the amplifier and lets you isolate channel-specific issues.
7. Know the signs of distress. If you hear popping, crackling, or a sudden drop in output, stop the sweep immediately. These are signs that the driver or amp is at its limit. Continuing can cause permanent damage.
By following these protocols, you can test your gear thoroughly without risking the hardware, or your hearing.
Step 5: Use Audio Quality Testing Tools for Headphones
Audio quality testing tools for headphones range from free apps to lab gear. Match the tool to how deep you want to go.
Common options include:
- Tone generators for sine sweeps and single frequencies
- Noise generators for pink and white noise
- Measurement apps that estimate frequency response
- Audio interfaces for clean input and output levels
For most listeners, a tone generator plus a quiet room is enough. Enthusiasts who want numbers can add a measurement mic and software.
One handy trick: use a headphone with a known, neutral sound as your reference. The Bluetooth Sleep Headband from Electro Gift Shop pairs easily and gives you a stable, comfortable reference for long listening checks. Its built-in HD stereo speakers and 10-hour battery make back-to-back comparisons simple. At $8.99, it's an easy way to add a second reference point without spending much.

Step 6: Perform a Blind Listening Test
A blind listening test hides which device is playing so your expectations don't sway your ears. It's the closest most of us get to an honest verdict.
Here's how to run one:
- Have a friend switch between two devices without telling you which is which
- Play the same track at matched volume
- Score each on clarity, bass, and comfort
- Repeat several rounds and average your scores
Volume matching is critical. A slightly louder device almost always sounds "better," even when it isn't.
This method cuts through brand bias. You judge what you hear, not what the label says.
Step 7: Spot Distortion, Clipping, and Compression Artifacts
Distortion, clipping, and compression artifacts are the three most common flaws you'll hear. Each has a distinct signature.
- Distortion: a rough, gritty edge on loud passages
- Clipping: a harsh crackle when the signal hits its ceiling
- Compression artifacts: a watery, swishing sound in busy sections
Play a demanding track loud enough to stress the speaker, but stay within safe levels. If the sound breaks up, the driver or the amp is hitting its limit.
Low bitrate files add their own artifacts. Compare a lossless file to a compressed one and listen for smeared cymbals or hollow vocals.
Common Mistakes to Avoid When You Test Audio Quality
Most bad test results come from a handful of repeat mistakes. Fix these and your findings get far more reliable.
- Testing in a noisy or echoey room
- Playing too loud and tiring your ears
- Using only one track for every check
- Skipping volume matching in comparisons
- Judging a device before you've heard it blind
A common mistake is testing right after a loud commute or workout. Your ears need time to reset. Give them a quiet break first.
The thing nobody tells you is that fatigue creeps in fast. After 30 minutes, your judgment dulls. Short sessions beat long ones every time.
Ready to test at home? The Mini Retro White Noise Bluetooth Speaker from Electro Gift Shop gives you a portable, stylish reference point. It packs Bluetooth 5.0, 360-degree surround sound, and four built-in nature sounds for calm listening breaks. The RGB ambient light and compact 5.6 x 6 x 2.64 inch frame make it easy to place anywhere. At $37.99, it's a friendly starting point for anyone learning to listen closely.
Frequently Asked Questions
How do I test my audio quality safely without damaging my hearing?
Start at a low volume and increase gradually. Keep testing sessions under 60 minutes at moderate levels, and never exceed 85 decibels for extended periods. Use a smartphone decibel meter app to check output. When running frequency sweeps or test tones, drop the volume 10 to 15 decibels below your normal listening level, since sustained sine waves are harder on ears than music. Take breaks every 20 to 30 minutes.
What is the 83% rule for speakers?
The 83% rule suggests keeping your amplifier's volume below roughly 83% of its maximum to avoid clipping and distortion. When an amp runs near full output, it can send clipped signals to speakers, which stresses drivers and degrades sound. For safe audio quality testing, stay well under maximum gain and listen for harshness or crackling. If you hear distortion, lower the volume immediately rather than pushing through.
Can high volume test tones damage my speakers?
Yes. Sustained sine waves and frequency sweeps at high volume can overheat voice coils and stress drivers, especially tweeters. Keep test tone volume moderate, run sweeps for short durations, and avoid leaving a single frequency playing for minutes. If your speaker starts rattling or sounding harsh, stop the test. Using pink noise at low levels is gentler than a full-volume sine wave sweep.
What are the best free tools to test audio frequency response?
Free options include Room EQ Wizard for room and speaker measurements, AudioCheck.net for tone and sweep generators, and the built-in tone generators in apps like Spectroid for Android. For headphone checks, OnlineToneGenerator.com and Sinesweep.net work in any browser. Pair these with a calibrated USB microphone if you want accurate acoustic measurement. Always run these tools at safe volume levels for audio testing.
Testing audio quality safely comes down to three habits: protect your ears, control your room, and compare blind. Skip any one and your results mislead you. Electro Gift Shop builds gear for listeners who care about sound, from the Bluetooth Sleep Headband with its 10-hour battery to the Mini Retro White Noise Bluetooth Speaker with 360-degree surround sound. Both are portable, comfortable, and made for daily use. Shop now and start testing with gear you can trust.